Settings
The Settings page is where you manage everything about your account, organisation, team, and integrations. You can access it from the Settings link in the bottom of the left sidebar.
Settings is organized into six tabs:
- Account - Your personal profile and preferences
- Organisation - Company information and authentication
- Downloads - Mobile and desktop recording apps
- Team - Invite and manage users
- Billing - Plans, seats, and invoices
- Integrations - CRM, calendar, VoIP, and cloud storage
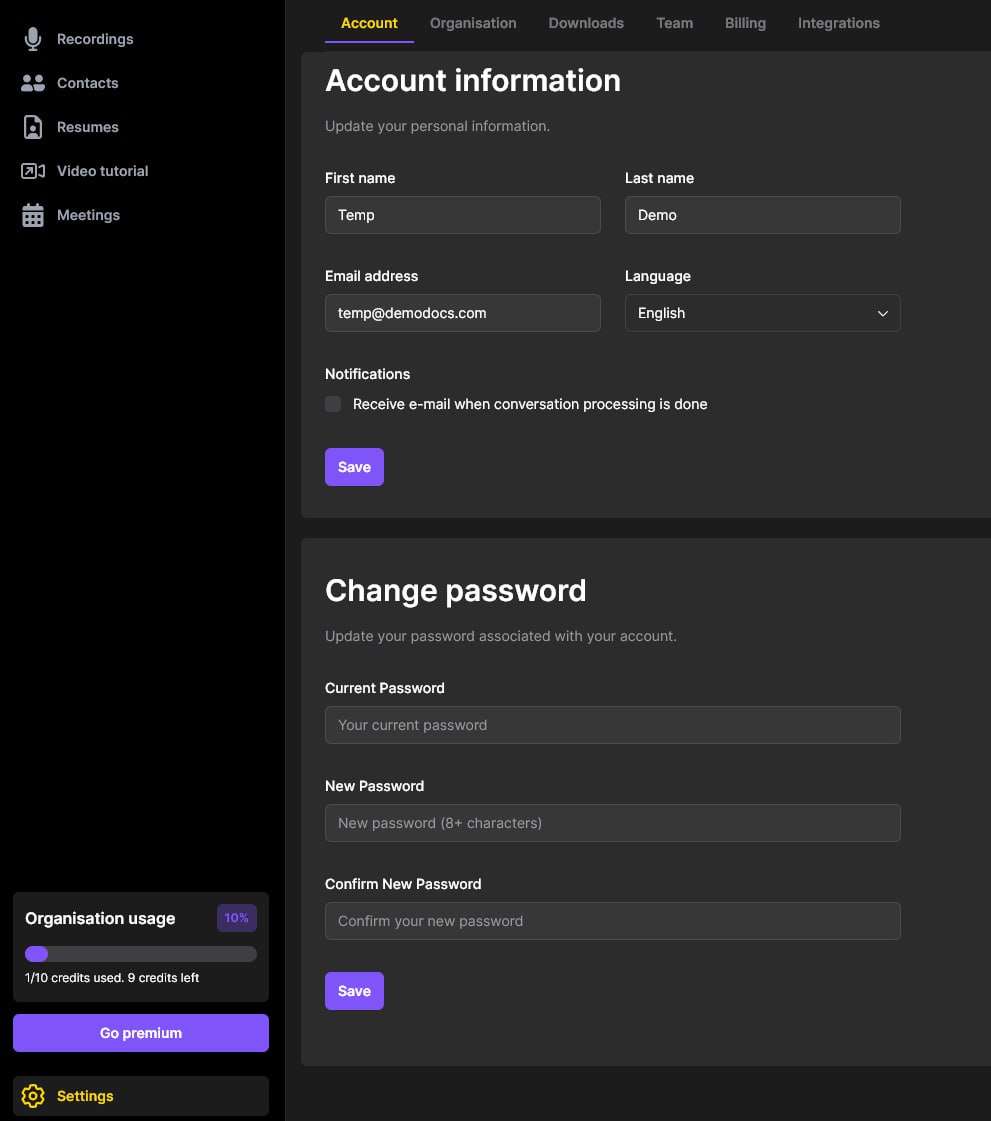
Account
The Account tab is where you manage your personal settings.
From here you can:
- Update your first name and last name
- View your email address
- Change your language preference
- Toggle email notifications - receive an email every time a conversation has finished processing
- Change your password
Organisation
The Organisation tab contains all the relevant information about your company.
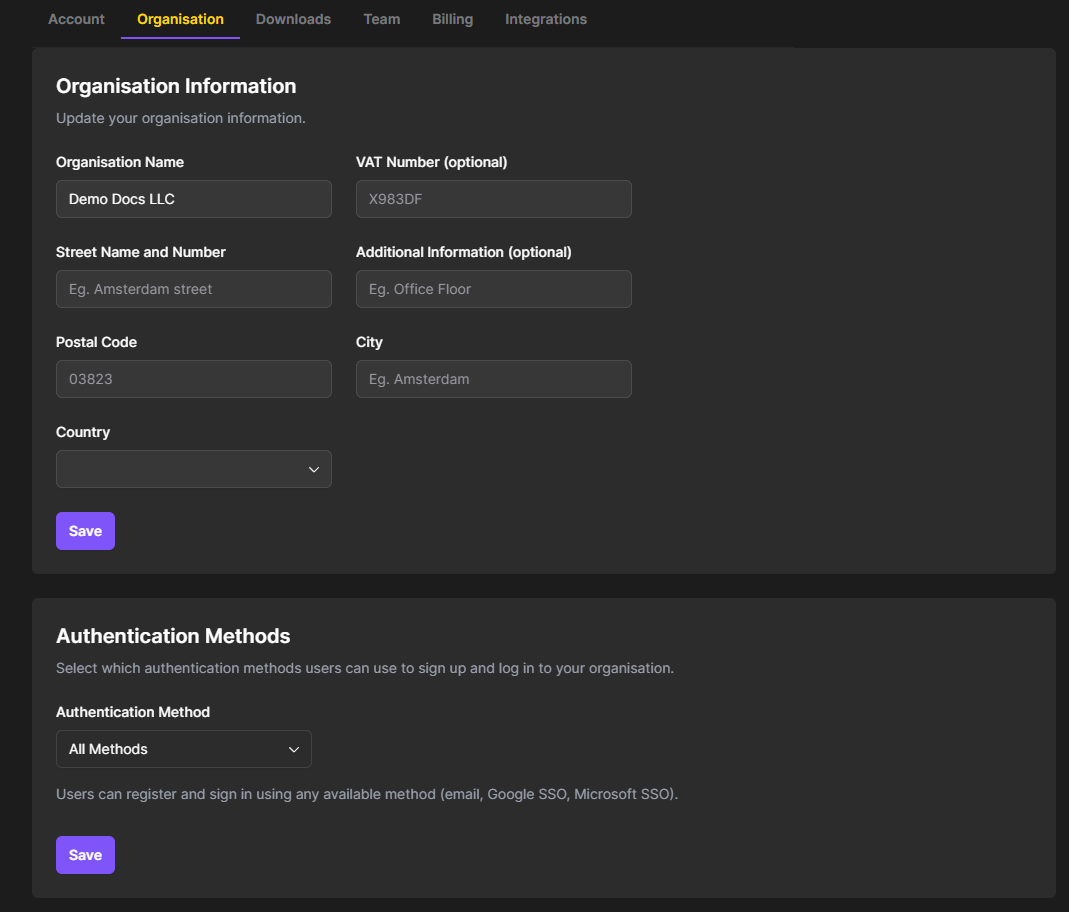
Organisation information
Fill in your organisation's details, including name, address, VAT number, and country. All billing information must be completed before you can upgrade to a paid plan.
Authentication methods
As an admin, you can control how users sign up and log in to your organisation. Options include:
- All methods - email, Google SSO, and Microsoft SSO
- SSO only - force users to authenticate with Google or Microsoft
- Email only - restrict to email-based authentication
This is useful if your company requires a specific sign-in method for security purposes.
Downloads
The Downloads tab is where you can get the Simply recording apps for your devices.
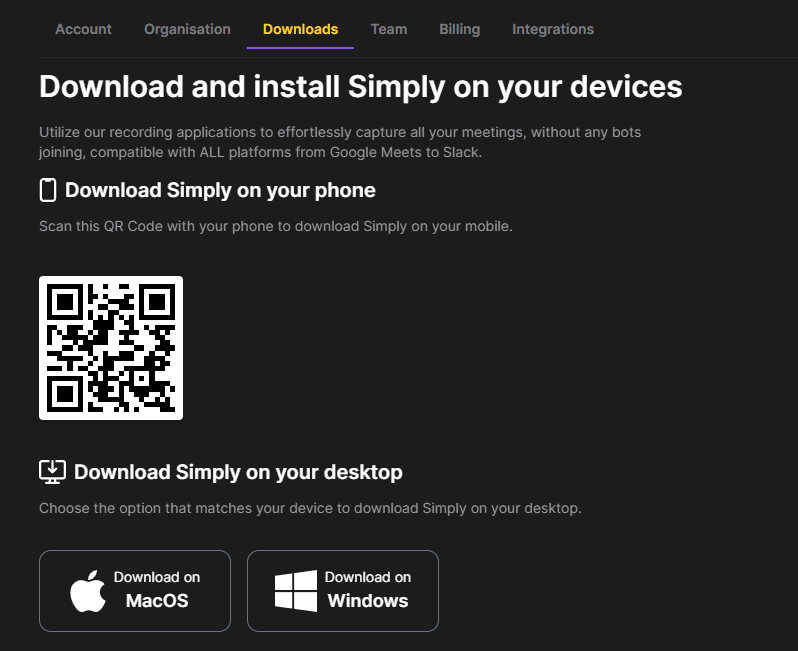
Mobile app
Scan the QR code with your phone to download the Simply mobile recording app. This is ideal for recording in-person meetings - just open the app and hit record.
Desktop app
Download the Simply desktop recorder for macOS or Windows. The desktop app runs in the background and records your video calls and other audio that goes through your computer.
Some users prefer the desktop recorder over the mobile app for in-person meetings too - for example, if your laptop has a better microphone setup. Others skip the desktop recorder entirely and rely on meeting bots instead. It's up to you to choose what works best.
Some company-managed laptops have restrictions that prevent installing third-party applications. Even though the Simply desktop app is signed with a Microsoft Partner security certificate, you may need to ask your IT administrator to install it for you.
Team
The Team tab gives you an overview of all users in your organisation.
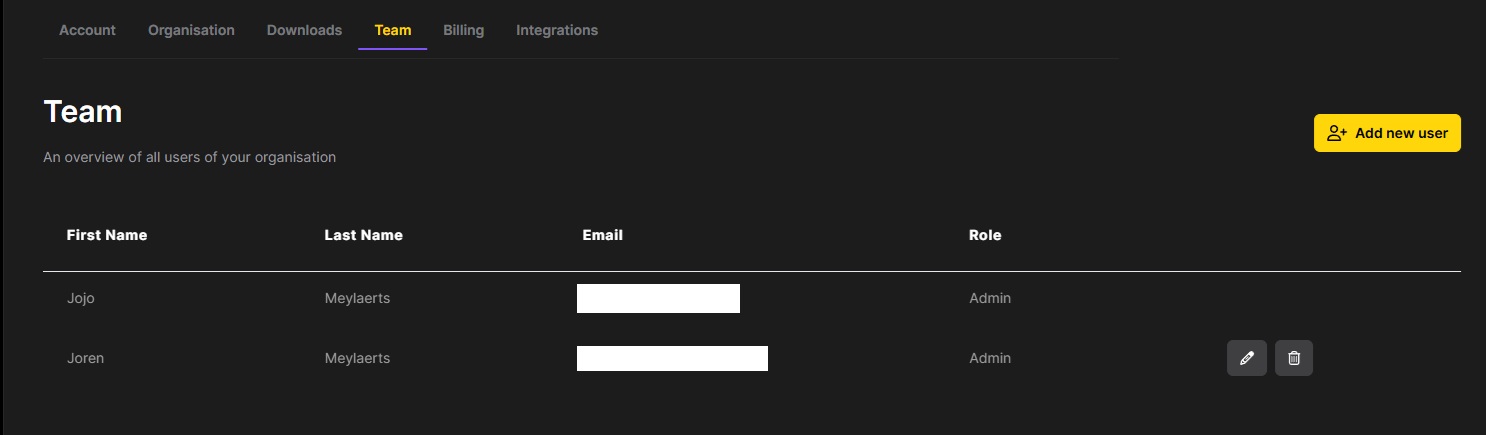
Inviting users
To add someone to your organisation, click Add new user in the top right. Fill in their first name, last name, email address, and assign them a role, then click Invite.
The invited user will receive an email and has 48 hours to accept the invite before it expires.
It is not possible for users to create an account on their own and join your organisation. Every user must be invited through this page - this is the only way to connect them to your organisation.
Managing your team
As an admin, you can:
- See all team members and their roles
- Edit or delete existing users
- Track the status of pending invitations
Billing
The Billing tab is where you manage your subscription, seats, and invoices.

Your plan
At the top you'll see your current plan and the total number of seats. Click See pricing plans to compare the features and costs of the different plans available: Starter, Pro, and Business.
How seats work
When you purchase a plan, licences are bought for all users in your team. It's not possible to mix different licence types - everyone gets the same plan.
Recommended flow:
- First, invite everyone to your team and get them set up
- Then, purchase licences for the whole team
If you add a new team member while on a paid plan, they will automatically be added to a licence as well.
Invoices and billing information
Use the sub-tabs to view:
- Seats - see how many credits each user has consumed
- Invoices - view and download past invoices
- Billing information - update your payment details
Integrations
The Integrations tab lets you connect Simply to your existing tools and workflows.
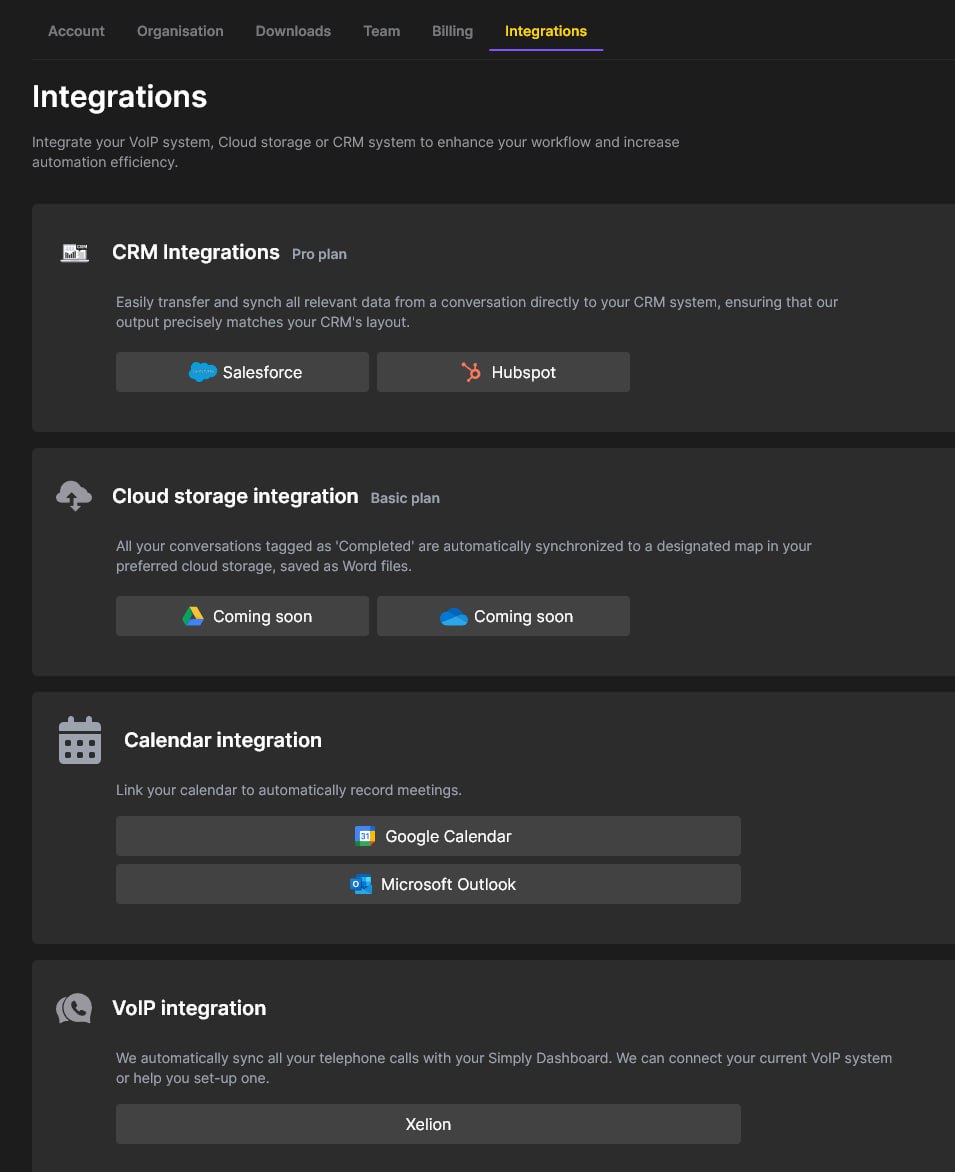
CRM integrations
Simply integrates with Salesforce and HubSpot to sync conversation data directly to your CRM.
- HubSpot - connect by simply logging in. Once connected, Simply can read your HubSpot contacts and write data back to them automatically.
- Salesforce - we recommend using the new Simply app on the Salesforce AppExchange rather than the integration shown on this page. Please reach out to your Simply account executive to get set up with the latest Salesforce integration.
Skip the built-in Salesforce button on this page. Instead, download the Simply app from the Salesforce AppExchange and follow the setup instructions with your account executive.
Cloud storage
Cloud storage integrations (Google Drive and OneDrive) are coming soon. Once available, completed conversations will automatically sync to your preferred cloud storage as Word files.
Calendar integration
If you didn't connect your calendar during onboarding, you can do it here. Link your Google Calendar or Microsoft Outlook to enable Simply's meeting bots.
Once connected, you'll be able to define rules for when the meeting bot should join your meetings - or whether it should join at all. The available options are:
- Record all meetings - the bot joins every meeting on your calendar
- Only when Simply is invited - the bot only joins when you invite
meeting@simplyrecruit.aias an attendee - Only when meeting subject includes these keywords - the bot only joins meetings whose title matches specific keywords you define
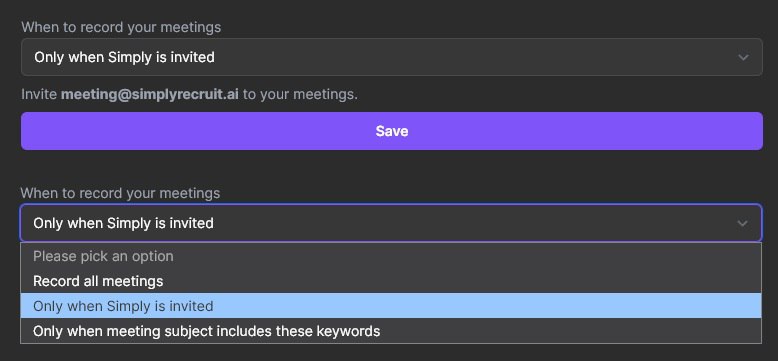
This gives you full control over which meetings get recorded automatically.
VoIP integration
Simply offers VoIP integration to automatically sync your phone calls with your dashboard. We currently have a dedicated integration with Xelion, with more VoIP providers available on request. Contact us to discuss your setup.