Installing & Connecting Simply to Salesforce
This guide walks you through two stages: first installing (or upgrading) the Simply managed package from AppExchange, then configuring the certificate-based connection so Simply can communicate with your Salesforce org securely.
- System Administrator profile in your Salesforce org
- Access to your Simply account manager (needed in Step 5 - Certificate Exchange)
- Your org should be on Salesforce Lightning Experience
Part 1: Install or Upgrade the Simply Package
The latest version of the Simply Salesforce package is v1.14. This guide uses version numbers as examples - always install the most recent version available on AppExchange.
Step 1.1 - Download the Package
Navigate to the Simply Salesforce listing on the AppExchange. This is always the authoritative source for the latest version of the package.
Click Get It Now to begin the installation wizard.
Step 1.2 - Select Your Salesforce Organization
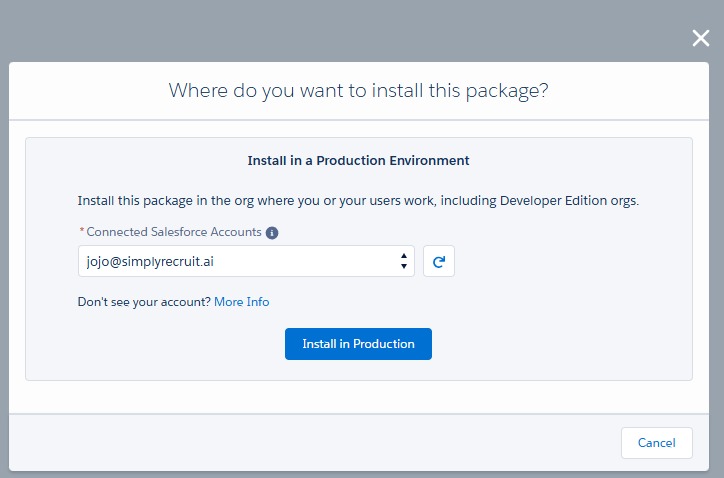
You will be asked where you want to install the package. Under Install in a Production Environment, select your Salesforce organization from the Connected Salesforce Accounts dropdown.
Once you have selected the correct organization, click Install in Production.
Make sure you select the correct environment. Installing into a sandbox first is recommended if you want to test before rolling out to production.
Step 1.3 - Confirm Installation Details
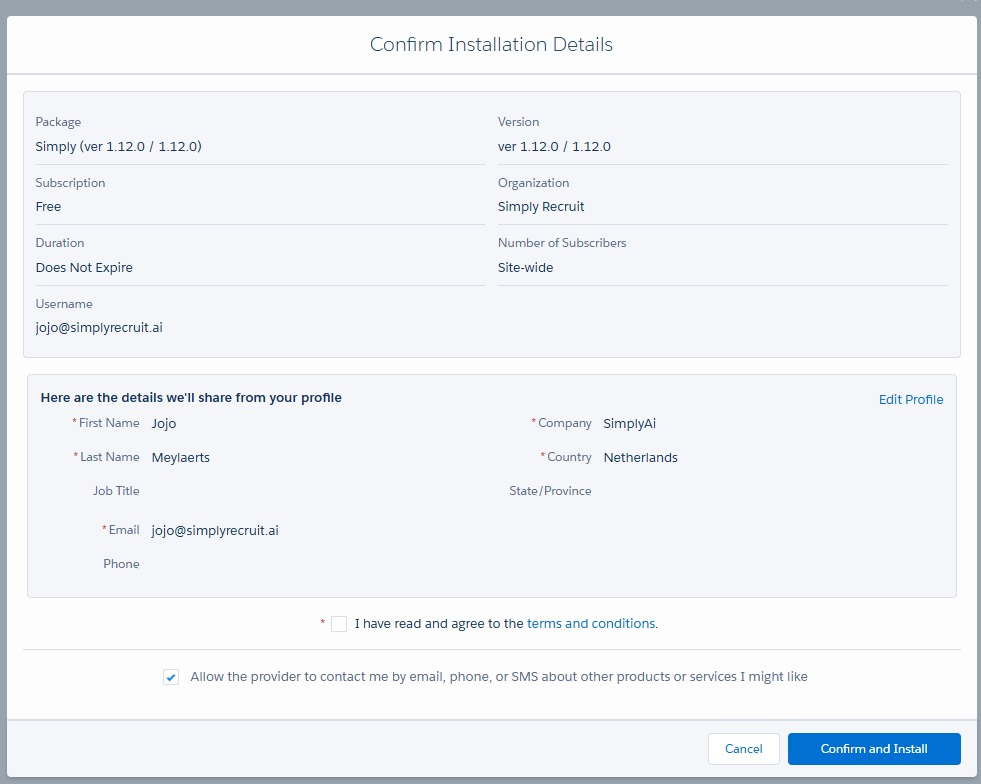
Verify that the package name and version number are correct (e.g. Simply ver 1.12.0). Review the installation details including your subscription type, organization name, and user information.
Check the box for I have read and agree to the terms and conditions, then click Confirm and Install.
Step 1.4 - Log In to Salesforce
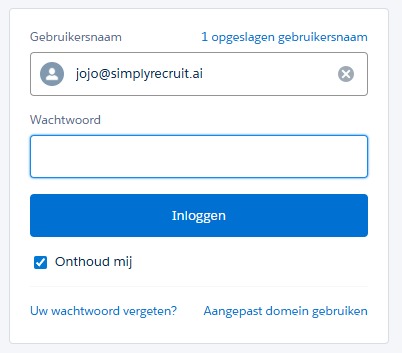
You will be prompted to log in to the Salesforce organization where you are installing the package. Enter your username and password, then click Log In.
Step 1.5 - Install for All Users
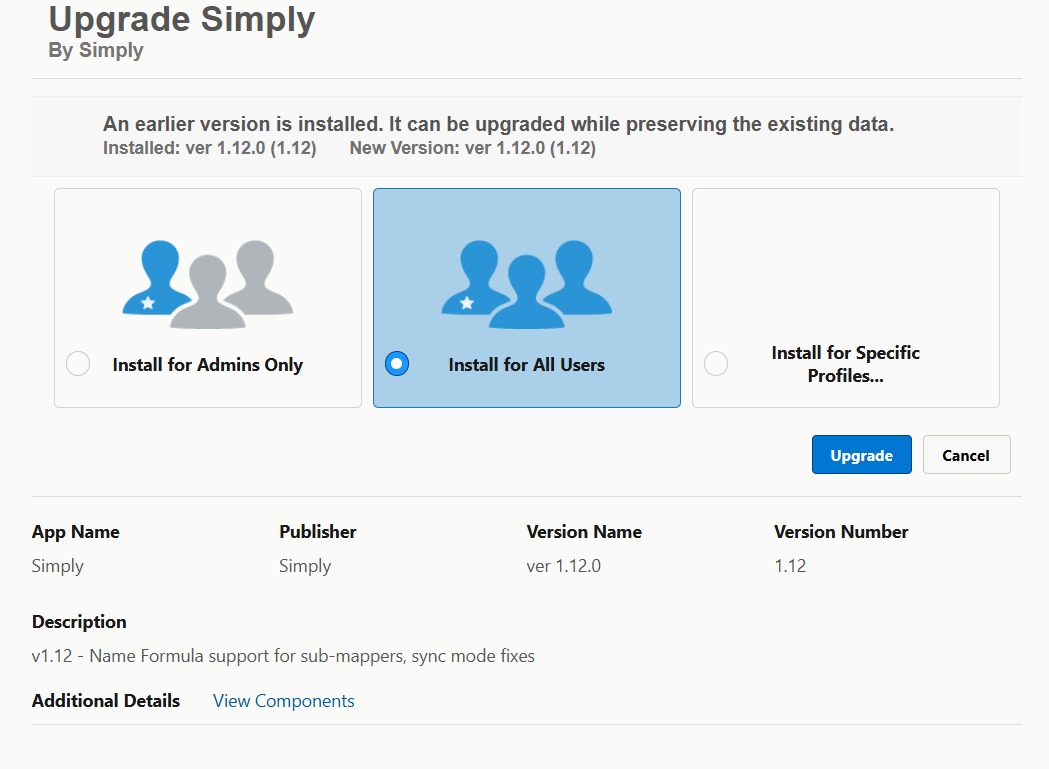
The next screen will display Upgrade Simply (if you have a previous version installed) or Install Simply (for a fresh install). You will see three installation scope options.
Select Install for All Users to ensure everyone in your organization has access to the updated package components. Once selected, click Upgrade (or Install).
Selecting this option ensures that all permission set assignments and component visibility work correctly out of the box. You can still control individual access via Permission Sets after installation.
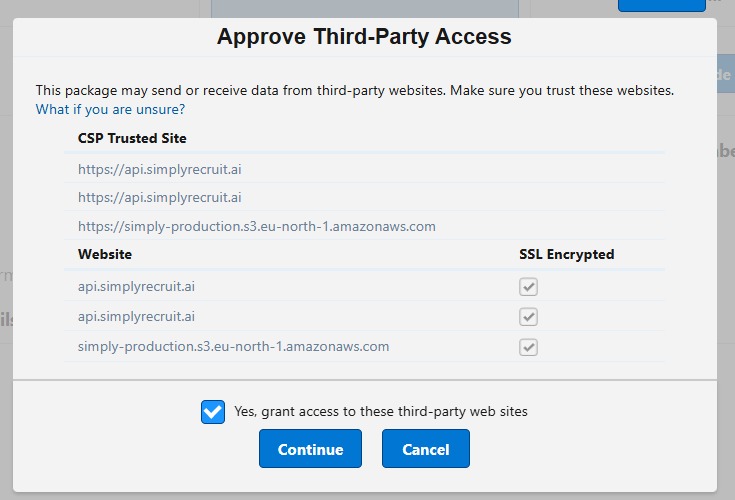
Step 1.6 - Approve Third-Party Access
You may be presented with a dialog asking you to approve third-party access. This is required for the Simply package to communicate with the SimplyRecruit API.
Check the box for Yes, grant access to these third-party web sites and click Continue.
Step 1.7 - Wait for the Upgrade to Complete
The installation or upgrade process will now run. You will see a loading screen indicating that the package is being installed and access is being granted to all users.
If Salesforce shows the message "This app is taking a long time to install", that is completely normal. You can safely navigate away from this page - Salesforce will send you a confirmation email when the process is complete.

Step 1.8 - Verify the Installation
Once you receive the confirmation email, navigate to Setup in your Salesforce org. In the Quick Find box, type Installed Packages and select it from the results.
Locate the Simply package and verify that the version number shows 1.12 (or the version you installed). If you can see this, the package has been successfully installed.


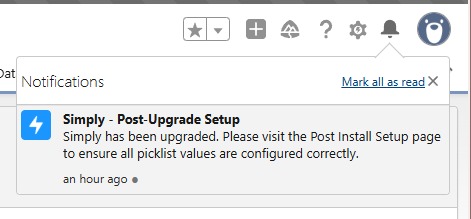
Step 1.9 - Post-Upgrade Setup Notification
After the installation completes, click the notifications icon (bell icon) in the top-right corner of your Salesforce screen. You will see a notification titled Simply - Post-Upgrade Setup.
Click on this notification to open the Post Install Setup page.
Step 1.10 - Complete Setup
The Post Install Setup page will display the Picklist Field Status, showing which picklist fields need to be updated. Fields marked Action Required have new picklist values that must be added.
Click the Complete Setup button at the bottom of the page. This will automatically configure all required picklist values for you.
Once complete, the core package installation is finished. You can now proceed to Part 2 to configure the secure connection.

Part 2: Configure the Secure Connection
With the package installed, you now need to establish a certificate-based connection between your Salesforce org and the Simply platform. This involves creating a certificate, sharing it with your Simply account manager, and configuring Named Credentials.
Step 2.1 - Create a Self-Signed Certificate
- In Setup, type
Certificate and Key Managementin the Quick Find box and select it. - Click Create Self-Signed Certificate.
- Provide a unique Label and Name for the certificate.
- Click Save to generate the certificate.
Creating certificates requires the System Administrator profile or a profile with the Manage Certificates permission. If you don't see the option, check your user permissions.
Step 2.2 - Extract the Public Key and Org Details
You need to collect three pieces of information to send to your Simply account manager.
Public Key (from the certificate)
- After saving, click the certificate name to view its details.
- Click Download Certificate to get the PEM-encoded file.
- Open the downloaded
.crtfile in a text editor and copy the full contents (everything from-----BEGIN CERTIFICATE-----to-----END CERTIFICATE-----).
Organization ID
- In Setup, navigate to Company Information.
- Copy the Salesforce.com Organization ID listed at the top of the page.
Domain (for the Issuer field)
- In Setup, navigate to My Domain.
- Note your custom domain (e.g.
yourcompany.lightning.force.com).
Accuracy is critical here. An incorrect Organization ID or domain will prevent the connection from working. Copy values directly - do not type them manually.
Step 2.3 - Send Certificate Information to Simply
Email the following three items to your Simply account manager:
| Item | Where to find it |
|---|---|
| Public Key | PEM content from the downloaded certificate file |
| Organization ID | Setup → Company Information |
| Domain (Issuer) | Setup → My Domain (without https:// or a trailing slash) |
Your account manager will configure the Simply platform to trust your certificate and will confirm once that step is complete before you proceed.
Step 2.4 - Configure Named Credentials
Once your account manager confirms the certificate has been registered on the Simply side:
- In Setup, type
Named Credentialsin the Quick Find box and select it. - Click on External Credentials.
- Click on the SimplyOauth entry.
- Under the Certificate section, upload or select the certificate you created in Step 2.1.
- In the Issuer field, enter your domain exactly as noted in Step 2.2 - for example:
yourcompany.lightning.force.com.- Do not include
https://or a trailing slash.
- Do not include
- Click Save.
After saving, re-open the SimplyOauth credential and confirm the certificate is correctly attached. If the Issuer field is blank or incorrect, the connection will fail.
Step 2.5 - Assign Permission Sets
Control which users can access Simply features by assigning the appropriate Permission Sets.
- In Setup, search for
Permission Sets. - The following Simply Permission Sets are available:
| Permission Set | Intended for |
|---|---|
| Simply Full User | Recruiters who use all Simply features (recordings, CV parsing, conversations) |
| Simply Full User Admin | Salesforce admins who also need access to all Simply features |
| Simply Resume User | Users who only need CV parsing functionality |
| Simply Summary User | Users who only need access to conversation summaries |
- Click a Permission Set, then go to Manage Assignments.
- Click Add Assignments and select the users to assign.
If your Simply package is licensed org-wide, all users may already have access. Permission Sets let you fine-tune access by role regardless of licensing model.
Next Steps
With the package installed and the connection configured, you are ready to set up the Simply environment for your team.
Continue to Configuring Your Simply Environment to create Data Point Mappings, add navigation tabs, and set up widgets.