Configuring Your Simply Environment
After installing the Simply package, this guide walks you through the full configuration: creating Data Point Mappings so Simply knows where to store parsed data, adding the key navigation tabs to your ATS, and placing Simply widgets on your Salesforce record pages.
Make sure you have completed the installation and connection setup first (Step 1). You will need the Simply app visible in the App Launcher before proceeding.
Step 2: Creating Data Point Mappings
Data Point Mappings tell Simply which Salesforce fields to populate when it parses a CV or completes a conversation. You will create at least two mappings: one for CV parsing and one for conversation summaries.
2.1: Navigate to the Simply App
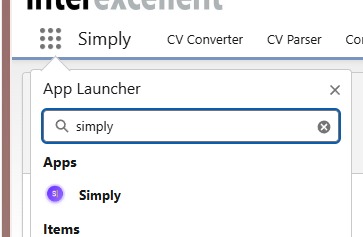
Open the App Launcher by clicking the grid icon in the top-left corner of your Salesforce screen. Search for Simply and select the Simply app.
2.2: Configure Navigation Items
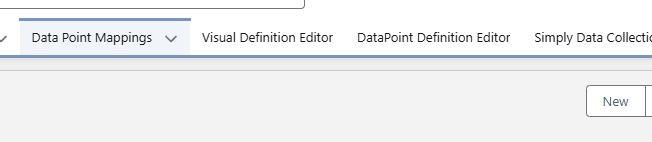
Once inside the Simply app, ensure all necessary navigation tabs are visible in the top navigation bar.
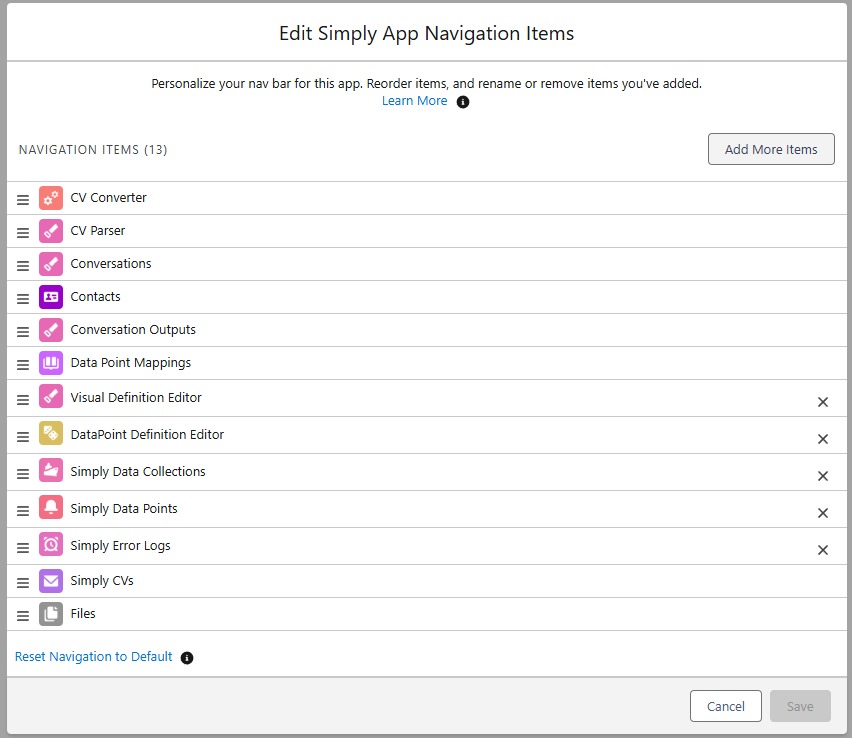
Click the pencil icon on the right side of the navigation bar to edit the navigation items.
![]()
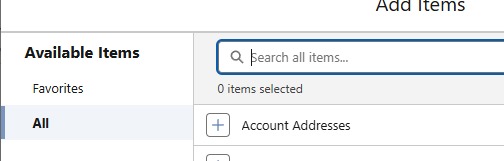
In the Edit Navigation Items panel, click Add More Items to add any missing tabs.
Click on All in the left sidebar and use the search bar to find the tabs you want to add.
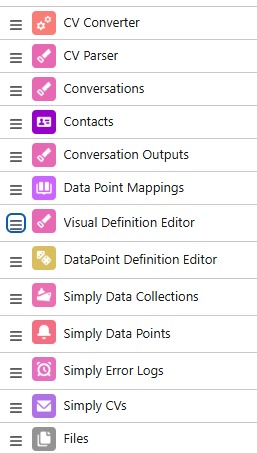
Ensure at least the following navigation items are present in your Simply app:
2.3: Create a CV Parsing Template
Navigate to the Data Point Mappings tab and click New to create a new mapping.
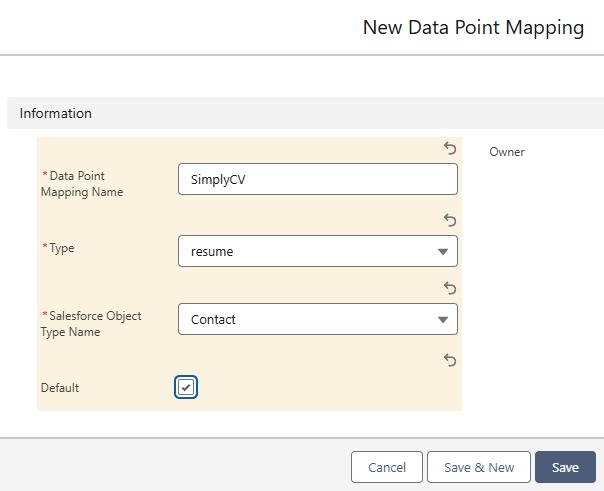
Configure the new mapping as follows:
- Name: give it a descriptive name (e.g. "CV Parsing - Contact")
- Type: select
resume - Salesforce Object Type Name: select
Contact - Default: check this if you want this to be the default CV parsing template
Click Save.
2.4: Configure Field Mappings (CV Parsing)
After saving, open the Mapping Configurator. Select the parsing template you want to configure from the dropdown. Most organisations will have one template, but if you are a partner with multiple CV export formats, each will appear here.

The configurator shows two key sections:
Available Salesforce Fields: all fields that Simply can write to. Each field shows its API Name and field type (e.g. PICKLIST, REFERENCE, STRING, PHONE, DATE). Use this as a reference when searching for fields in the section below.

Field types must be compatible. A text-type Simply field can map to a TextArea Salesforce field (both are text), but a text-type field cannot map to a date-type field. If a field does not appear in search results, either the API name is incorrect or the types are incompatible.
Simply Fields: the data points that Simply extracts from a CV. For each Simply field, use the search box on the right to find the corresponding Salesforce field by its API Name.
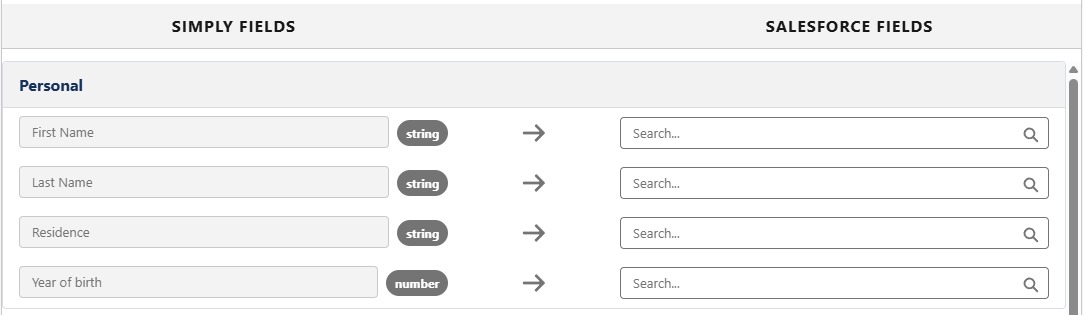
The Simply team can create custom Simply fields to match your specific needs. If a standard field does not exist for a data point you need, reach out to your Simply account manager to discuss options.
In the Other category, you will find the Summary field. This is the candidate summary extracted from the CV, which you can map to a long text area field of your choice.

2.5: Sub-Mappers for Custom Objects
If you need Simply to write data to a custom Salesforce object (for example, an Experience object used by MySolution clients), you can create a Sub-Mapper.
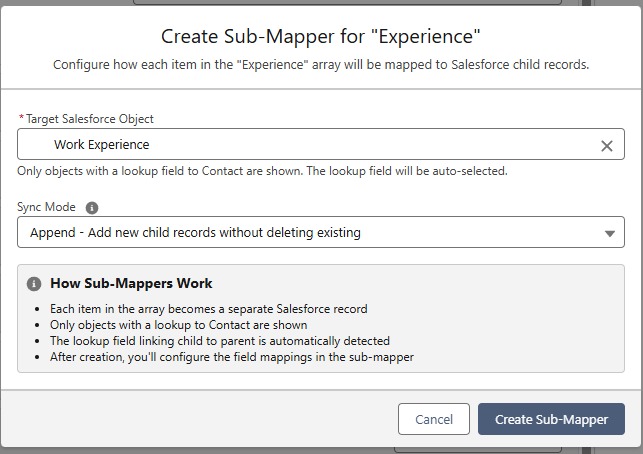
Click + Create Sub-Mapper next to the relevant data category.

Configure the sub-mapper:
- Target Object: select the custom Salesforce object you want to write to. Only objects with a lookup field pointing to Contact are shown. The lookup field is detected automatically.
- Sync Mode: choose how Simply handles existing records:
- Append: adds new child records each time without deleting existing ones
- Upsert: overwrites existing data each time a new CV is parsed
After creating the sub-mapper, a new mapping window opens where you can map each individual field from the custom Salesforce object to a Simply data point.
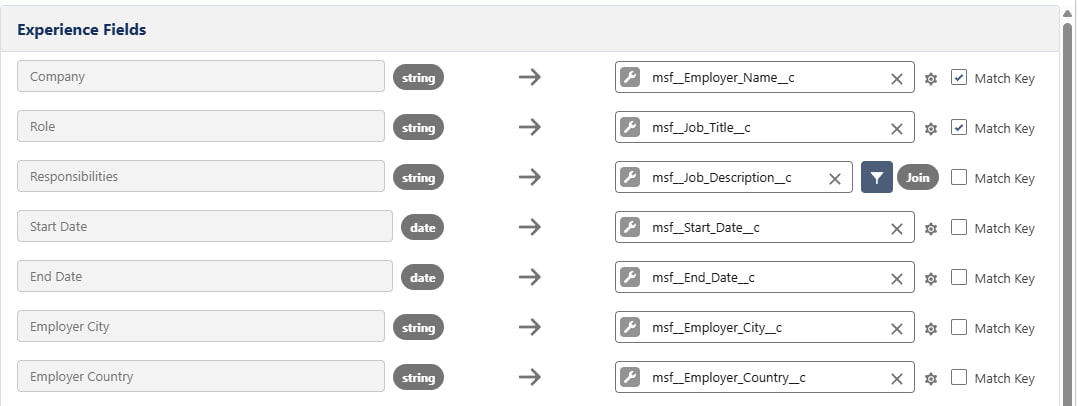
Match Keys
Each field mapping has a Match Key checkbox. When checked, Simply uses that field to detect duplicate records. For example, if you check Match Key on both Company and Role, Simply will look for an existing record with the same company and role combination before creating a new one, preventing duplicates.
You can select multiple match keys to create a compound uniqueness check.
Field Transformations
Some fields may need their data transformed before being saved to Salesforce. Click the settings icon (⚙️) next to a mapped field to add a transformation.
Available transformation types include:
| Transformation | Description |
|---|---|
| Join Array (concat) | Combine array items into a single string, using a separator (e.g. comma, newline, bullet) |
| Uppercase / Lowercase | Convert text case |
| Date / DateTime | Parse date strings into Salesforce date format |
| Boolean | Convert values like yes, true, 1 to true/false |
| Number | Parse numeric strings |
| Default | Provide a fallback value for empty fields |
| Picklist Mapping | Map source values to Salesforce picklist values |
| Lookup | Resolve a value to a record ID by matching a field on the referenced object |

For example, the Responsibilities field is typically an array of items. By adding a Join Array transformation with a comma separator, the array is concatenated into a clean, readable string before being saved to the Salesforce field.
2.6: Create a Conversation Template
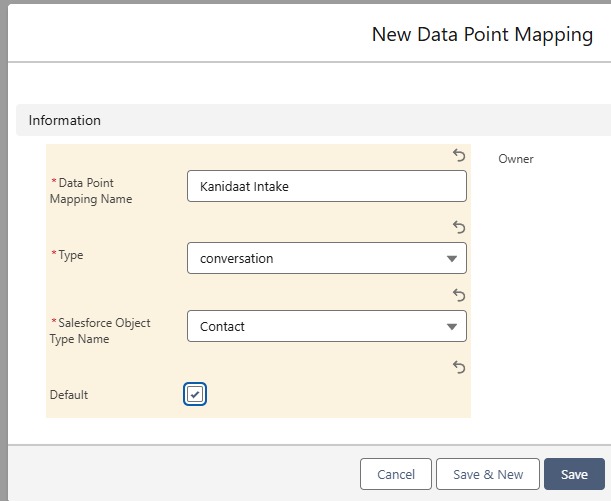
Navigate back to Data Point Mappings and click New again to create a mapping for conversation summaries.
Configure the new mapping as follows:
- Name: give it a descriptive name (e.g. "Candidate Intake")
- Type: select
conversation - Salesforce Object Type Name: select the appropriate object (typically
Contact)
2.7: Configure Field Mappings (Conversation)
In the Mapping Configurator, select the conversation profile you want to configure from the dropdown. The dropdown shows all available conversation profiles along with the number of data points each one contains.

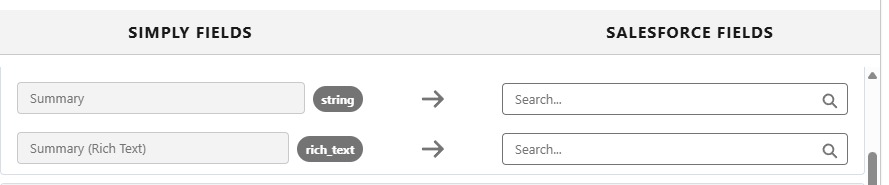
You can map the conversation summary to a Salesforce field of your choice. Two variants are available:
| Variant | Description |
|---|---|
| Summary | Plain text version without formatting |
| Summary (Rich Text) | Formatted version with all styling applied |
The summary is generated automatically when a conversation (e.g. a Candidate Intake) is set to Complete.
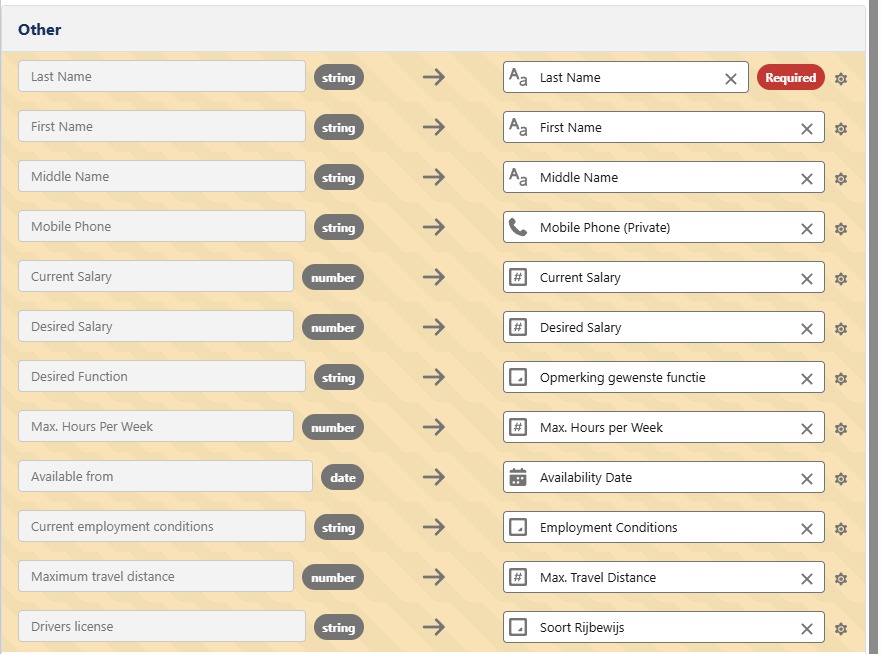
The Last Name field must always be mapped. This is a Salesforce requirement for Contact records. Not every field needs to be mapped; leave unused fields blank.
Below is an example of a completed conversation mapping for reference.
2.8: Save Your Mapping
Once all required fields have been mapped, you will see a green confirmation message: All required fields mapped. Click Save.
Every conversation profile that you intend to use in your workflow must have a Data Point Mapping created with at least the minimum required fields mapped. Without a mapping, you will not be able to set conversations of that profile to Complete in your dashboard. Even if you don't plan to map many fields, always create a mapping template for each active conversation profile.
You can repeat this process to create additional mappings for other CV templates or conversation profiles, or to map data to other Salesforce object types such as Lead or Opportunity.

Step 3: Setting Up the ATS Navigation
To make Simply tabs available inside your ATS application (rather than just the standalone Simply app), you need to add them through App Manager.
3.1: Open App Manager
In Setup, type App Manager in the Quick Find box and select it.

3.2: Edit Your ATS App
In the App Manager, find the app you use as your ATS. If you are a MySolution or Byner user, your app will typically be named after your organisation.
Click the dropdown arrow to the right of the app and click Edit.

3.3: Navigate to Navigation Items
In the App Settings sidebar on the left, click on Navigation Items.
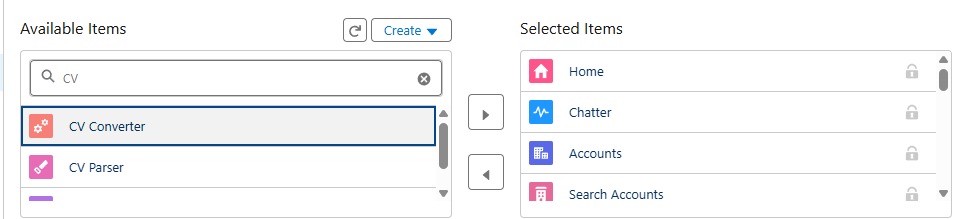
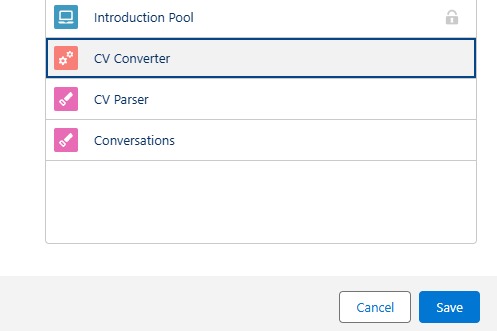
3.4: Add CV Converter and CV Parser
In the search box under Available Items, type CV to find the CV Converter and CV Parser tabs.

For each item, select it and click the right arrow button to move it to the Selected Items list.
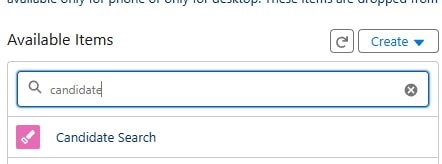
3.5: Add Candidate Search
Search for and add Candidate Search to the Selected Items list.
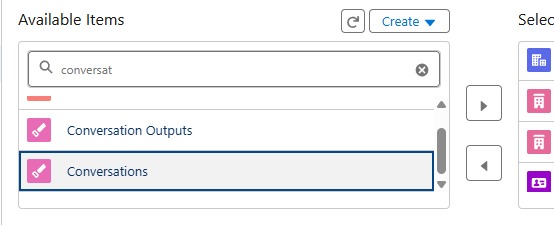
3.6: Add Conversations
Search for Conversations and move it to the Selected Items list as well.
3.7: Reposition and Save
If the app allows it, reposition the newly added items using the up and down arrows to place them in your preferred order. When you are satisfied, click Save.
3.8: Verify the New Tabs
Navigate to your ATS application. You should now see the four new tabs (Conversations, CV Converter, CV Parser, and Candidate Search) in the navigation bar. The ATS environment setup is complete.

Step 4: Adding Simply Widgets
Widgets let you embed Simply functionality directly into your Salesforce record pages. Simply currently offers four main widgets:
| Widget | Best placed on |
|---|---|
| Simply Recordings | Contact page |
| Simply CV Parser | Contact page or Home page |
| Simply CV Converter | Contact page or Home page |
| Simply Data Viewer | Contact page (prominent position) |
| Simply Candidate Tag Viewer (optional) | Contact page |
4.1: Simply Recordings Widget
The Simply Recordings widget displays all conversations tagged to a Contact, allowing easy navigation to each conversational summary. It is best placed on the Contact record page.
4.1.1: Add the Related List Component
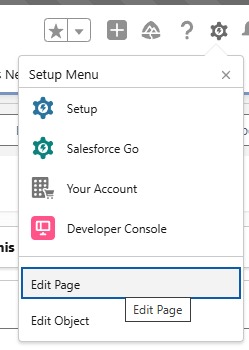
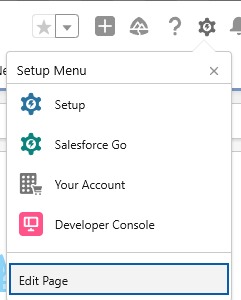
Open any Contact record, click the settings icon (gear icon) in the top-right corner, and click Edit Page.
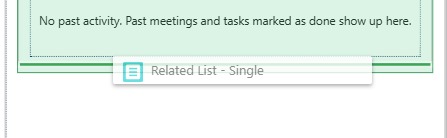
In the Components panel on the left, search for Single to find the Related List - Single component. Drag it to your preferred location on the page.
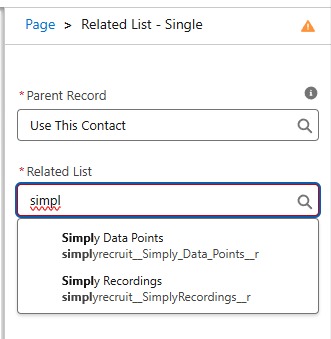
4.1.2: Configure the Component
In the properties panel on the right, search for Simply in the Related List field and select Simply Recordings.
You will see a warning: "This related list cannot be displayed because it is not in the current page layout." This is expected. You will resolve it in the next step.
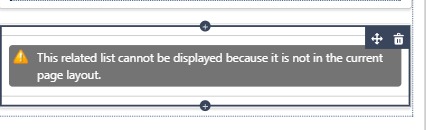
Click Save to save the Lightning page, then navigate back to the Contact page.
4.1.3: Add to Page Layout
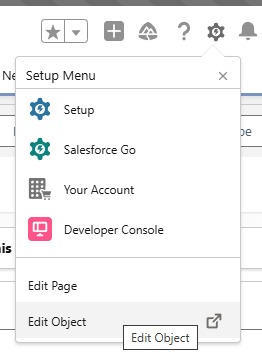
Back on the Contact page, click the settings icon again and this time select Edit Object.
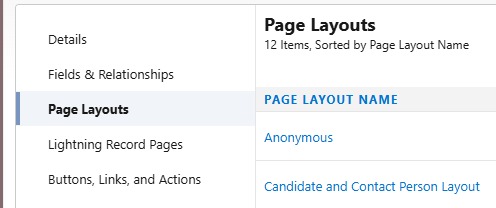
In the left sidebar, click on Page Layouts, then open the page layout you are actively using.
Click on Related Lists in the top toolbar, then type Simply in the Quick Find box to locate Simply components.
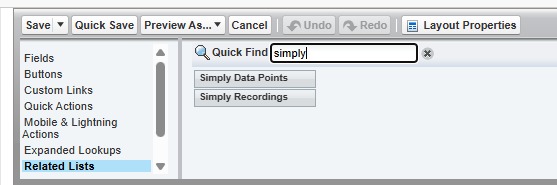
Drag the Simply Recordings element into the Related Lists section at the bottom of the page.
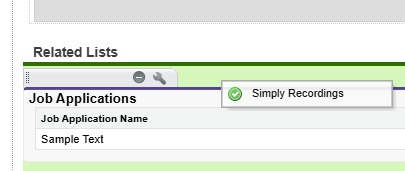
While you're here, make sure the Notes & Attachments related list is also added to your layout. This is where Simply will store documents such as candidate CVs when they are parsed. If it's missing, search for it in the Quick Find box and drag it into the Related Lists section just like you did with the Simply Recordings element.
Click Save to save the page layout.
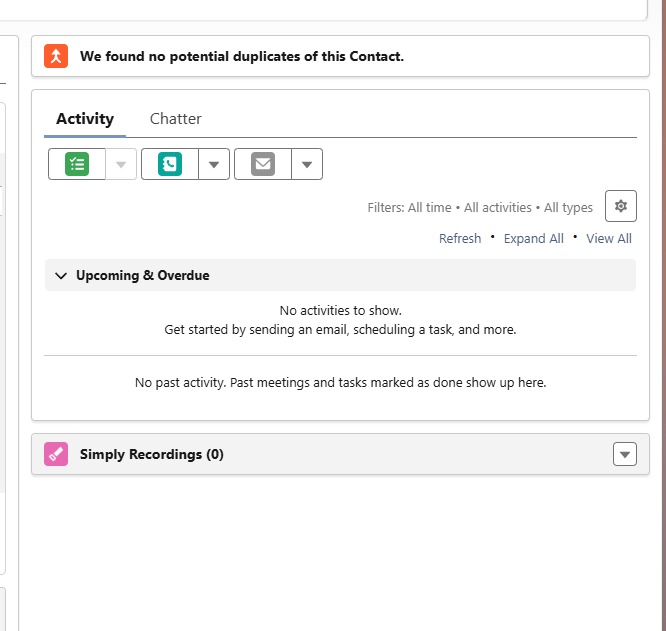
4.1.4: Verify the Widget
Navigate back to the Contact page. The Simply Recordings widget should now be visible. From this point on, every conversation that is processed and tagged to a Contact will appear here automatically.
4.2: Simply CV Parser & CV Converter Widgets
The CV Parser and CV Converter widgets can be placed on a Contact page or on a general page like Home for quicker access.
Navigate to the desired page, click the settings icon, and click Edit Page.
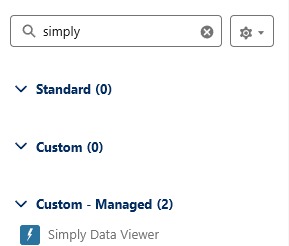
In the Components panel, search for Simply. Under Custom - Managed, you will find Simply - CV Converter and Simply - CV Parser. Drag both widgets to your desired locations on the page.
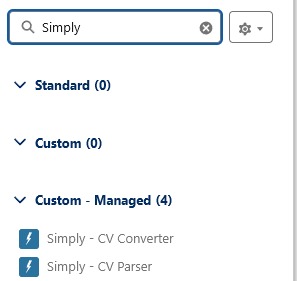
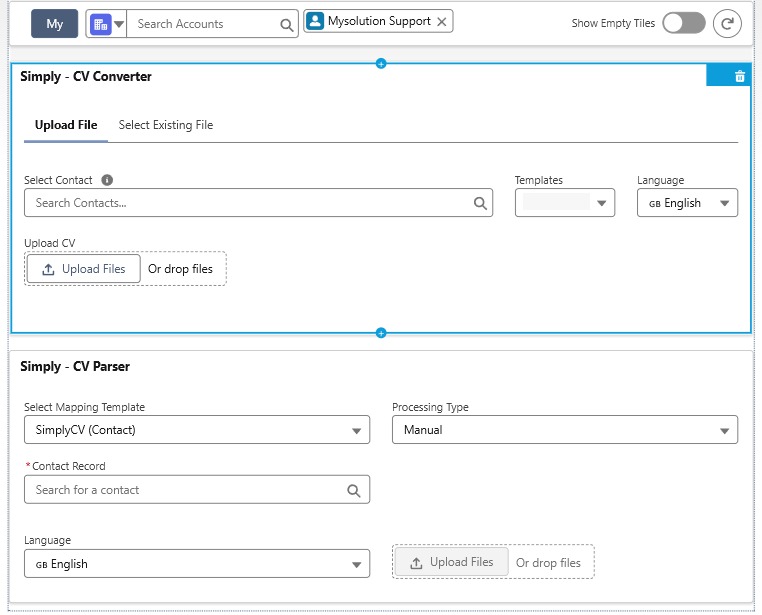
Both widgets will load immediately with their full interfaces:
- CV Converter: upload or select a file, choose a Contact and template, set a language
- CV Parser: select a candidate and a CV parsing template to parse directly
4.3: Simply Data Viewer Widget
The Data Viewer widget provides a comprehensive overview of all candidate data Simply has collected through CV parsing or completed conversations, including personal details, work experience, education, and skills, in a single, organized view.
It is best added to the Contact page in a prominent position. Many partners find that after adding the Data Viewer, some of the standard Salesforce detail tabs become redundant.
Navigate to a Contact page, click the settings icon, then Edit Page. Search for Simply in the Components panel and drag the Simply Data Viewer to your desired location. Click Save.
The Data Viewer will immediately display all collected candidate data as soon as a Contact has a parsed CV or a completed Simply recording.
4.3.1: Initialize the Data Viewer Layout
To set up the default enhanced layout for the Data Viewer:
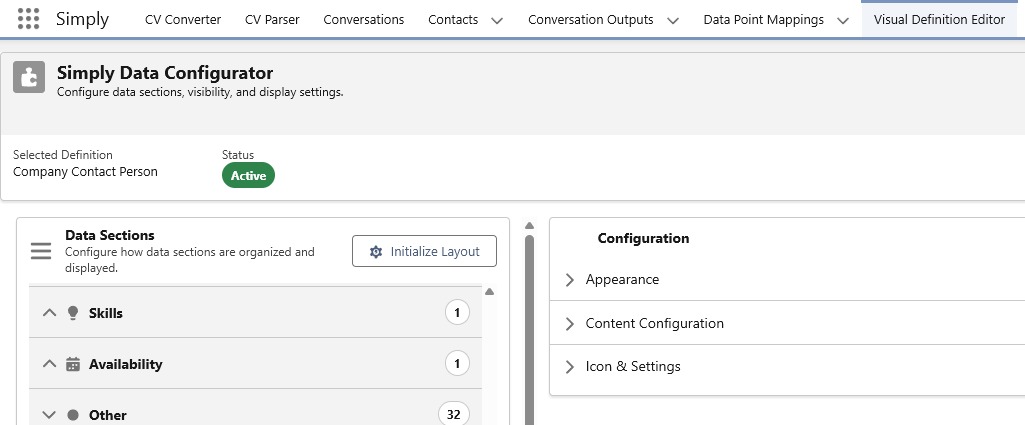
- Navigate to the Visual Definition Editor tab in the Simply app.
- You will see the Simply Data Configurator, which lets you configure data sections, visibility, and display settings.
- Click Initialize Layout (once only) to set up the default layout.
4.4: (Optional) Simply Candidate Tag Viewer Widget
The Candidate Tag Viewer widget provides a visual display of the contextual tags currently applied to a candidate, derived from their CV data and conversation summaries.
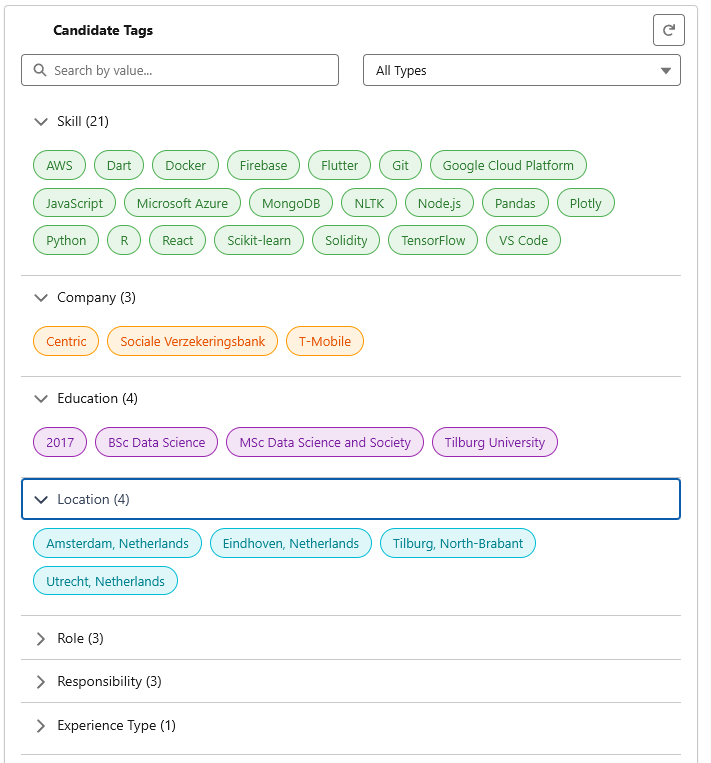
These tags are created and updated dynamically. Any changes made in the Data Viewer are instantly reflected in the corresponding tags.
Even if you choose not to add the Tag Viewer widget, candidate tagging still happens automatically in the background. The widget simply makes the tags visible on the record page.
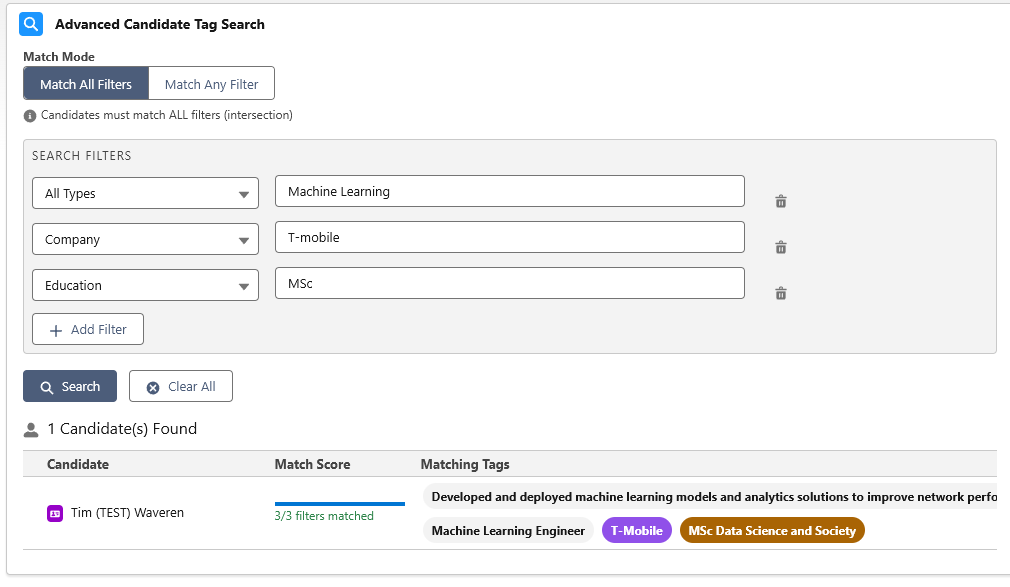
4.4.1: Using the Advanced Tag Search
The Advanced Tag Search is a powerful tool for finding candidates using the dynamic tags Simply generates.
Access it through your navigation bar (it was added in Step 3.5). From here, you can apply multiple search filters that match the tags Simply has created for your candidates.
By combining filters to match an active vacancy, you can immediately surface the most relevant candidates from your database.
This completes the widget setup.
Step 5: Custom Work & Integration Support
The Simply Salesforce integration is designed to be self-service, but we understand that not every organisation has Salesforce expertise in-house, and some prefer to focus on recruiting rather than technical configuration.
If you need help with any part of this setup, or if your use case requires custom data points not available as standard Simply fields, we are here to help. Simply reach out to your account manager and we will discuss the best approach for your organisation.
If a data point or workflow you need does not exist out of the box, it can almost certainly be built. Custom Simply fields, custom objects, and bespoke integration flows are all within scope. Contact your account manager to get started.